

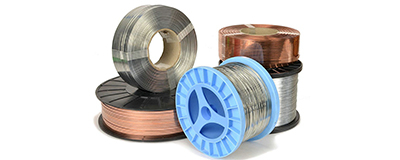


You can ensure a successful DIY home renovation with the right screws. Your toolbox should have construction screws, wood screws, and drywall screws.
Using the right fasteners is the most important step for any DIY project.
The correct fastener makes your home project strong and safe. You will learn which screw to use for each DIY job, removing any guesswork. This ensures your work looks professional and lasts for years.
Why Choosing the Right Fasteners is Non-Negotiable
Choosing the right fasteners is a critical decision in any project. It's the difference between a job you are proud of and one that fails. Grabbing any screw from your jar might seem fast, but it creates serious problems down the road. Taking a moment to select the correct fastener ensures your work is safe, strong, and professional.
The Risks of Using the Wrong Fastener
Using the wrong fastener can ruin your hard work. A common mistake in a DIY project leads to visible damage and structural weakness.
Have you ever seen ugly bumps or circles pushing through a painted wall? Those are often "nail pops."
This happens when the wrong type of nail, like one meant for roofing, is used on drywall. It lacks the right grip and eventually slides out. This is just one example. Using a screw that is too short or weak can cause shelves to fall, cabinets to sag, or frames to pull apart. These failures are not just ugly; they can be dangerous.
The Benefits of Getting It Right
On the other hand, using the right fasteners brings huge rewards for your DIY home renovation. When you match the fastener to the material and the job, you guarantee a successful outcome. Your home projects will be better in several key ways:
Superior Strength. The correct fasteners spread weight evenly across your materials. This prevents stress in one spot and makes the entire structure much stronger.
Long-Term Stability. A proper fastener provides a secure hold that resists vibrations and loosening over time. Your connections will stay tight and stable for years.
Lasting Durability. Quality fasteners are made from materials that resist rust and wear. This protects the look and integrity of your project, especially in areas exposed to moisture.
The Essential Screws for Every Toolbox

Your toolbox needs a good variety of fasteners. Knowing the main types of screws will prepare you for almost any project. These three are the foundation of any good collection.
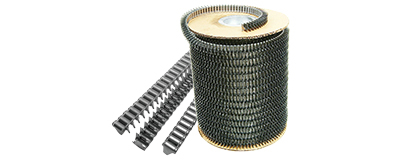
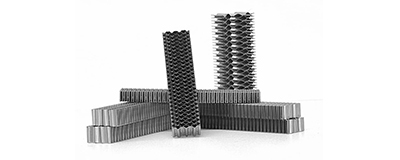
General Construction Screws (e.g., GRK, Spax)
Think of general construction screws as the modern workhorses of your toolbox. You will use them for framing, building decks, and general wood-to-wood connections. They are engineered for strength and ease of use, making your diy projects faster and more secure.
A key feature is their self-tapping tip. These sharp points have cutting threads that carve their own path into the material. This means you often do not need to drill a pilot hole first. This feature saves you a lot of time. Other advanced designs include:
Notched or fluted tips: These cut away wood fibers as you drive the screw. This action reduces the risk of splitting the wood, especially in hardwoods.
Self-drilling tips: These tips clear out material efficiently. They are perfect for dense woods or even connecting wood to metal.
Thread-cutting flutes: These grooves along the body help remove wood chips. This reduces friction and makes driving the screw much smoother.
Pro Tip: Always choose construction screws with a star or Torx drive head. They offer superior grip, preventing the frustrating "cam-out" or stripping that often happens with Phillips heads.
Classic Wood Screws
Classic wood screws are essential for projects where a tight, clean finish is important, like building cabinets or assembling furniture. Their design is simple but very effective. Many wood screws have a partially unthreaded shank near the head. This is a deliberate and important feature.
The smooth shank allows the screw to pull two pieces of wood together tightly. As you drive it in, the threads engage only with the bottom piece of wood. The unthreaded part spins freely in the top piece. This action creates a powerful clamping effect, pulling the two boards into a very secure joint. This design offers several benefits:
A Stronger Hold: The clamping action creates a stronger connection than a fully threaded screw can.
Automatic Stopping: The screw naturally stops when the head is flush. This prevents you from over-driving and damaging the wood surface.
Lasting Stability: This tight joint is less likely to loosen over time from vibrations or wood movement.
Drywall Screws
Drywall screws are highly specialized fasteners. You should only use them for one job: attaching drywall sheets to wood or metal studs. Their unique design makes them perfect for this task. The most important feature is the bugle-shaped head.
The bugle head is curved. It tapers gently to sit perfectly flush with the drywall surface. This design presses the drywall paper into the gypsum core instead of tearing it. This gives you a smooth dimple that is easy to cover with joint compound, resulting in a flawless, paintable wall. Using the wrong fastener will tear the paper, making it difficult to achieve a professional finish.
Warning: Never use drywall screws for structural applications or with treated lumber. They are brittle and have low shear strength, meaning they can snap under heavy loads.
The chemicals in treated wood are also highly corrosive to these types of screws. The moisture from rain accelerates this corrosion. The screws will dissolve and fail quickly, creating a dangerous situation for any diy project like a deck or playset.
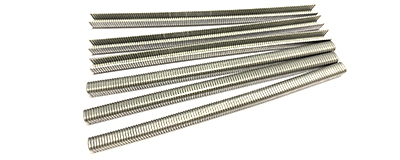
Concrete and Masonry Screws
When your project involves attaching materials to concrete, brick, or block, you need a specialized fastener. Concrete and masonry screws are your solution for these tough surfaces. You will use these screws to secure shelving in a basement, attach furring strips to a block wall, or mount fixtures on a concrete patio. Their unique design allows them to cut threads directly into masonry, creating a powerful and reliable hold without needing a separate plastic anchor.
These fasteners are engineered for strength and durability. Many have a distinct blue coating that provides excellent corrosion resistance, making them suitable for damp environments like basements. The installation process is critical for these screws to work correctly. A proper installation ensures maximum holding power for your diy project.
Pro Tip: Always follow the manufacturer's instructions for hole size. Using the correct carbide-tipped drill bit is essential for the screw to tap its own threads properly.
The holding strength of a concrete screw depends heavily on the material you are drilling into. Solid concrete provides a much stronger grip than lightweight cinder block. The chart below shows how much weight different sizes can hold in various materials.
This table gives you a closer look at the ultimate load capacities.
Material | Screw Size | Pull-Out (lbs.) | Shear (lbs.) |
|---|---|---|---|
2000 PSI Concrete | 3/16” | 600 | 720 |
2000 PSI Concrete | 1/4” | 750 | 900 |
Lightweight Block | 3/16” | 220 | 400 |
Lightweight Block | 1/4” | 250 | 620 |
Medium Weight Block | 3/16” | 340 | 730 |
Medium Weight Block | 1/4” | 500 | 1000 |
Safety First! The numbers above show the ultimate or breaking strength. For safe diy use, you should only use about 25% of that value. For example, a 1/4" screw in concrete with a 750 lb pull-out strength has a safe working load of about 187 lbs.
To guarantee a secure connection, you must follow the correct installation steps.
Drill the Hole. Use a hammer drill and the correct size of carbide-tipped masonry bit. You need to drill the hole at least 1/2 inch deeper than the screw will penetrate.
Clean the Hole. This step is very important. Use a wire brush, compressed air, or a vacuum to remove all dust and debris from the hole. A clean hole gives the threads a solid surface to grip.
Position Your Fixture. Line up the hole in the item you are mounting with the hole you drilled in the masonry.
Insert the Screw. Place the concrete screw through the fixture and into the prepared hole.
Drive the Screw. Use a drill or a wrench to drive the screw until its head is snug against the fixture. Be careful not to over-tighten. Over-torquing can strip the threads you just created in the masonry, causing the fastener to fail.
Beyond Screws: Other Critical Fasteners
Screws are essential, but your toolbox is incomplete without other key fasteners. Nails, bolts, and anchors solve problems that screws cannot. Understanding them will prepare you for a wider range of home projects.
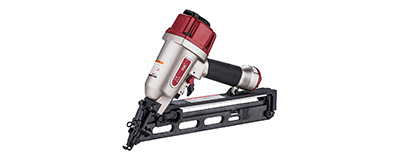
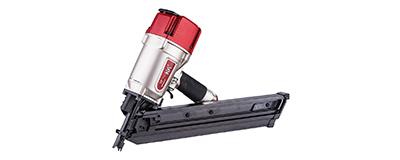
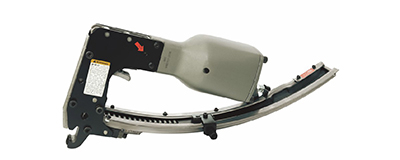
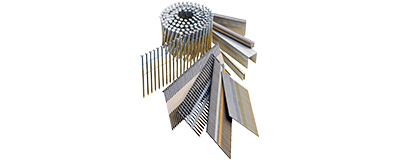
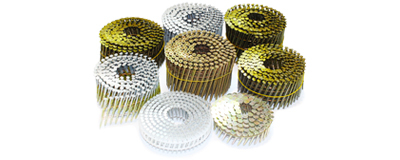
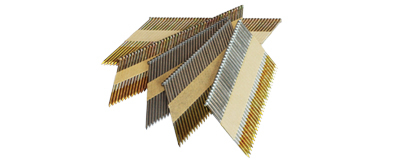
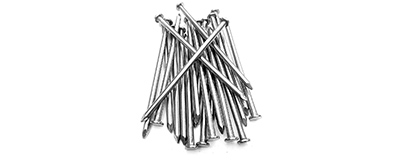
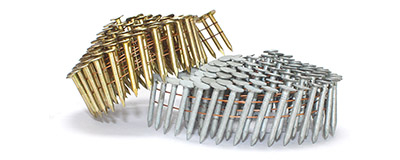
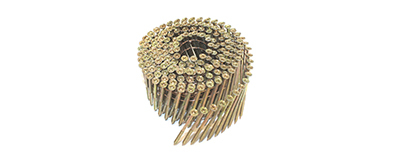
Nails for Framing and Finishing
Sometimes, a hammer and nail are the fastest and best tools for the job. For structural work like framing walls, you will need specific nails.
16d (3 1/2-inch) nails are the standard for connecting framing lumber.
8d (2 1/2-inch) nails work well for attaching sheathing and subfloors.
Ring-shank nails have extra grip and are great for securing roof decking.
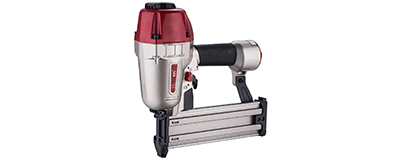
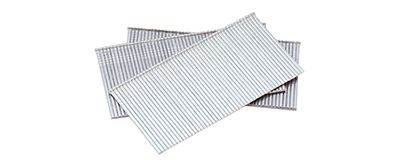
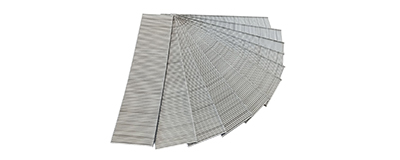
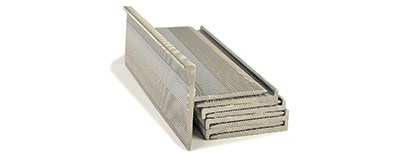
For finishing work, the nail you choose affects the final look. Brad nails and finish nails are common, but they serve different purposes.
Feature | Brad Nails (18-Gauge) | Finish Nails (Thicker Gauge) |
|---|---|---|
Holding Power | Minimal; for delicate trim | Stronger; for baseboards and cabinets |
Hole Size | Very small; often needs no filler | Larger; requires wood filler |
Application | Light decorative molding | Heavier trim and door casings |
Bolts for Heavy-Duty Connections
When you need maximum strength, you should use a bolt. A bolt and nut create a powerful clamping force for structural joints. For most diy projects, you will encounter two main types. A hex bolt is a versatile workhorse for joining wood or metal. A carriage bolt is perfect for woodworking, as its smooth, rounded head provides a clean look and its square neck stops it from turning when you tighten the nut.
Anchors for Hollow and Solid Walls
You cannot screw directly into drywall or plaster to hang heavy objects. The material will crumble. You need a wall anchor to create a secure mounting point. The right anchor depends on the wall type and the object's weight.
For hollow walls like drywall, a molly bolt can hold items from 25 to 50 pounds. For heavier objects, you can use a toggle bolt, which can support up to 100 pounds. This type of fastener is also an excellent choice for brittle plaster walls. A self-drilling metal anchor is another great option that easily cuts through tough plaster, giving you a solid point to hang shelves or art.
Selecting Fasteners for Common Home Improvement Projects

Knowing the theory is great, but applying it to real home improvement projects is where you see results. You can match the right fasteners to the job. This ensures your work is strong and looks professional. Let's look at some common diy home projects.
Building Decks and Outdoor Structures
When you build a deck, you must choose fasteners that can fight corrosion. The chemicals in pressure-treated wood will eat away at standard screws. For most decking, you should use deck screws with a premium anti-corrosion coating. In coastal areas with salt spray, stainless steel deck screws are the best choice for your home. They offer maximum protection against rust. Building codes often require specific types for safety.
Safety Tip: For structural connections like attaching joists or posts, always use hot-dip galvanized nuts, washers, and at least one bolt. This is critical for a safe and long-lasting outdoor structure.
Assembling Cabinets and Bookshelves
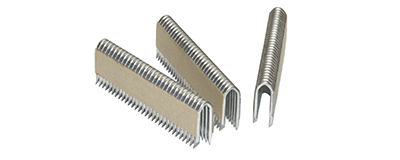
Your diy home improvement work on cabinets and bookshelves requires a clean finish. Classic wood screws are an excellent choice here. The unthreaded shank pulls the joints together tightly for a strong hold. For attaching cabinet backs or thin plywood, a small nail or narrow-crown staples work well. They provide enough holding power without splitting the thin material. This is a key step in your diy home renovation.
Hanging Shelves, Mirrors, and Art
Hanging heavy items on your walls needs careful planning. You must never screw directly into drywall or plaster to hang something heavy. The material will crumble. First, weigh your item. Then, choose an anchor that can support it.
For Plaster Walls: These walls are brittle. You should use a toggle bolt anchor for a secure hold.
For Drywall: You have more options. A plastic anchor works for light items. For heavier mirrors or shelves, use a molly bolt or a toggle bolt.
Pro Tip: Always check the weight rating on the anchor packaging. Using two anchor points instead of one will distribute the weight and make your installation much safer for your home. This is a simple step for any home improvement project.
Framing Walls and Small Structures
You will build the skeleton of your new room with framing. This is a structural job. Your fastener choice is critical for a strong and safe home. For most home improvement projects like this, you have two main options: framing nails and construction screws. Each has a specific role in your diy home renovation.
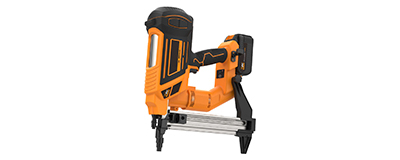
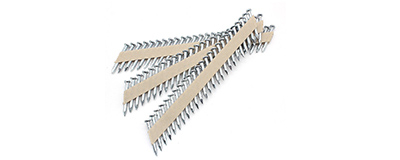
Framing nails are the traditional choice for a reason. They have excellent shear strength. This means they resist the side-to-side forces that can make a wall wobble. A pneumatic framing nailer makes this work incredibly fast. You can complete your home improvement project with speed and confidence.
Pro Tip: When connecting framing studs, use two 16d (3 ½-inch) nails through the top and bottom plates. This creates a very strong connection for your home.
Construction screws offer a different kind of strength. They have superior withdrawal resistance. This makes them great for pulling warped boards straight or for tasks where you might need to make adjustments. Many diy home projects benefit from using both.
Here is a simple guide for your next diy framing job:
Framing Nails (16d): Use these for connecting studs to plates and for building headers.
Sheathing Nails (8d): Use a smaller nail for attaching plywood or OSB sheathing to the frame.
Construction Screws: Use these for temporary bracing or for attaching blocking between studs.
Choosing the right fastener ensures your new walls are sturdy and secure for years to come.
Understanding Fastener Features and Materials
You can improve your projects by understanding a fastener's features. The head shape, drive type, threads, and material all affect how a screw performs. Choosing the right combination makes your diy work easier and stronger.
Head and Drive Types (Phillips, Star/Torx)
The top of a screw has two parts: the head shape and the drive type. The head shape determines how the screw sits on the material. A flat head is best for woodworking because it sits flush with the surface. A pan head has a flat bottom that works well for attaching hardware.
The drive type is the slot where your drill bit fits. You will see Phillips and star-shaped (Torx) drives most often. For any high-torque diy job, you should choose a star drive. It gives you a better grip and prevents the bit from slipping out and stripping the screw head.
Phillips Screws | Star/Torx Screws | |
|---|---|---|
Torque Handling | Tends to slip under high torque | Superior torque transmission |
Stripping Resistance | More likely to strip | Reduced stripping potential |
Common Uses | General assemblies, electronics | Deck building, structural jobs |
Thread Types (Coarse vs. Fine)
Screws have either coarse or fine threads. The right choice depends on the material you are working with.
Coarse Threads: These have wider spacing. You should use them for soft materials like wood and drywall. The wide threads grab more material, creating a strong hold that resists stripping.
Fine Threads: These are closer together. This type of fastener is ideal for harder materials like metal or dense hardwoods. They provide a very secure connection in pre-threaded holes.
Material and Coatings (Stainless Steel, Coated)
The material of your fasteners is critical for durability, especially outdoors. Using the wrong material can lead to rust and project failure.
Warning: Never use standard screws with pressure-treated lumber. The chemicals in the wood will corrode them quickly.
For outdoor projects or wet areas, you need fasteners with protection.
Hot-Dip Galvanized: These are coated in zinc and offer good rust protection for decks and fences.
Ceramic-Coated: This is another strong option that resists corrosion from moisture.
Stainless Steel: This is the best choice for maximum rust prevention, especially in coastal areas with salt spray. Always use stainless steel or hot-dip galvanized fasteners for pressure-treated wood.
You can prepare for most diy home projects by stocking your toolbox with key screws. Always match the fastener to the material for your home improvement project. This simple step ensures your diy home renovation is safe. Before your next diy job, check your fasteners. Having the right construction screws, wood screw, and drywall screws will make your home improvement projects successful and keep your home safe.
FAQ
Can I reuse old screws for my project?
You should avoid reusing old screws. They may have rust or hidden damage. A damaged screw can break easily during installation or under load. Always use new, high-quality fasteners to ensure your project is strong and safe.
Do I always need to drill a pilot hole?
You do not always need a pilot hole. Many modern construction screws are self-tapping. However, you should drill pilot holes in hardwoods or when working near the edge of a board. This simple step prevents the wood from splitting.
What is the best all-purpose fastener for a beginner?
A general construction screw is your most versatile choice. You can use it for many wood-to-wood projects, from framing to simple repairs. Its strong grip and self-tapping tip make it very user-friendly for your DIY home renovations.
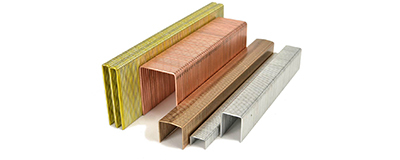
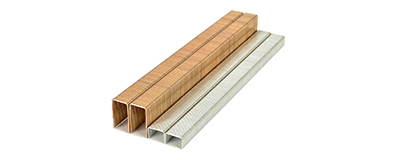
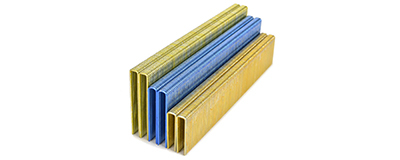
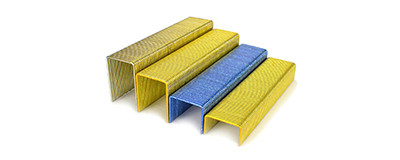
What can I use for attaching thin materials?
For thin materials like cabinet backs or fabric, screws can be too large. You can use a pneumatic stapler with narrow-crown staples. These fasteners provide a secure hold without splitting the delicate material, giving you a clean and professional finish.