


Choosing the right nail gun fasteners is critical for your project's success. Your choice depends on the thickness of the materials you are joining. You can follow a general rule for success. Your nail needs to be three times the length of the material it secures. For example, you need a 2 1/4-inch nail for a 3/4-inch board. This ensures a strong hold and prevents the nail from blowing out the side. With the nail gun market projected to reach nearly $1 billion by 2032, mastering your nail gun is a valuable skill.
Nail Sizing 101: A Beginner's Guide to Length and Gauge

Understanding nail sizes is the first step to mastering your nail gun. This beginner's guide will walk you through the two most important measurements: length and gauge. Getting these right ensures your projects are both strong and beautiful.
How to Determine the Right Nail Length
Choosing the right nail length is crucial for creating a secure joint. A nail that is too short will not have enough holding power, while one that is too long can poke through the other side, creating a hazard and an ugly finish.
Pro Tip: A simple rule to follow is the "3x rule." The nail should be three times longer than the thickness of the material you are fastening. For example, if you are securing a 3/4-inch thick board, you will need a nail that is at least 2 1/4 inches long (3/4" x 3 = 2 1/4").
Another common guideline suggests the nail should penetrate at least two-thirds of the way into the thicker base material. Imagine you are joining two 2-inch thick pieces of wood. Your nail needs to go all the way through the top piece (2 inches) and then at least 1.33 inches into the bottom piece (2 inches x 2/3). This means you would need a nail over 3.33 inches long for a strong bond.
Several factors can influence your choice of nail length:
Type of Wood: Hardwoods like oak are dense and provide a strong grip, so you might use a slightly shorter nail than you would for softwoods like pine.
Moisture Content: Wet wood is softer and can split easily, sometimes requiring shorter nails. Dry wood is harder, and you might need a longer nail to get a secure hold.
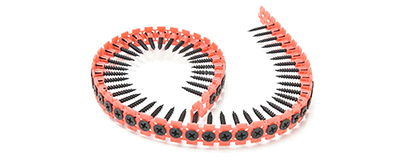
Nail Shank Type: Smooth shank nails are common, but ring shank or barbed nails have ridges that provide extra holding power. You might use these for heavy-duty applications where pull-out resistance is important.
Decoding Nail Gauge: What the Numbers Mean
Nail gauge refers to the thickness or diameter of the nail. It can be a bit confusing at first because the numbering system is inverted.
Remember This: A lower gauge number means a thicker nail. A higher gauge number means a thinner nail.
Thicker, lower-gauge nails (like 15 or 16-gauge) offer more strength and holding power. You use them for tasks where structural integrity is key. However, their thickness increases the risk of splitting the wood, especially hardwoods like oak and maple, which have dense, tight grain structures.
Thinner, higher-gauge nails (like 18 or 23-gauge) are much less likely to split wood. This makes them perfect for delicate trim work and attaching thin materials. They leave a smaller hole, creating a cleaner finish that is easier to fill and paint. The trade-off is that they have less holding power. For applications like stair treads, you need to find a balance. A 15 or 16-gauge finish nail is often a good choice, providing strong support without being too visible.
The diameter of a nail's shank determines its size. In the United States, common nail diameters for a nail gun range from 1.6 mm to 2.1 mm (0.063–0.083 inches). The chart below shows the relationship between a nail's diameter in millimeters and inches.
Here is a quick reference table that shows common nail gauges for your nail gun and their corresponding diameters.
Gauge | Diameter (inches) | Diameter (mm) | Common Use |
|---|---|---|---|
15 | 0.072 | 1.8 | Trim, Molding, Door Casings |
16 | 0.063 | 1.6 | Baseboards, Crown Molding |
18 | 0.047 | 1.2 | Delicate Trim, Cabinet Backs |
23 | 0.025 | 0.64 | Tiny Trim, Hobby Work |
Choosing the correct gauge is a balancing act. You need enough strength for the job without damaging your material. Always consider the wood type and the project's demands before loading your nail gun.
Matching Nail Gun Fasteners to Your Tool
Your nail gun is only as good as the fasteners you put in it. Different types of nail guns are designed for specific tasks, and each requires a particular size and style of nail. You must match the fastener to the tool to ensure safety and achieve professional results. This guide will help you understand which nails work with the most common tools.
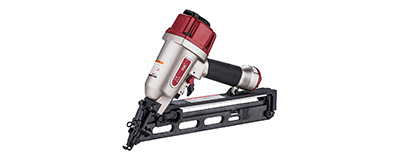
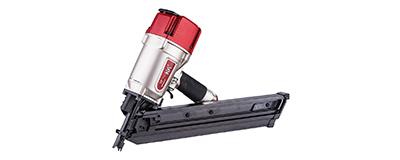
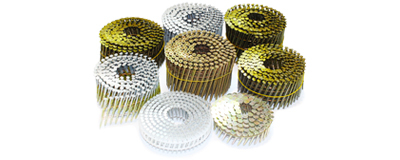
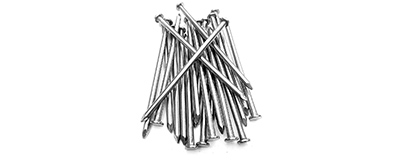
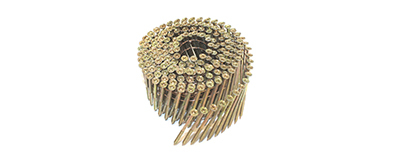
Framing Nailers: Heavy-Duty Fasteners
You use a framing nail gun for large-scale, structural projects. This powerful tool drives thick, long nails to create strong bonds in lumber. Think of jobs like building wall frames, attaching roof sheathing, or constructing a deck. These tasks demand maximum holding power.
Framing nailers use heavy-duty nails with a diameter from 0.113 inches to 0.148 inches. You can find compatible nail lengths ranging from 2 inches all the way up to 3-1/2 inches. The right choice depends on the thickness of the wood you are joining. Always check your nail gun manual to confirm the exact fastener specifications it supports.
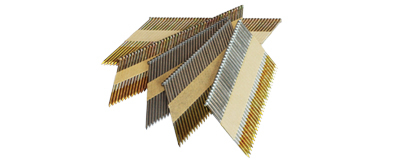
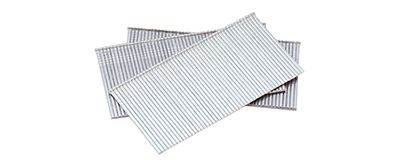
Finish Nailers: For Trim and Molding
You will need a finish nail gun for projects that require a strong hold with a clean look. These tools are perfect for attaching baseboards, crown molding, and door or window casings. Finish nails are thinner than framing nails, so they leave a smaller hole that is easy to fill.
Finish nailers come in two common gauges. The tool and the nails must match.
A 16-gauge nailer uses 16-gauge nails.
You can also choose between angled and straight finish nailers. Each has unique advantages for different applications. The table below breaks down the differences to help you select the right tool for your trim work.
Nailer Type | Nail Gauge | Design | Suitable Trim/Molding | Key Characteristics |
|---|---|---|---|---|
Angled (DA) Finish Nailer | 15-gauge | Angled | Crown molding, baseboards, door casings | Its angled design helps you reach tight corners. The thicker nail provides greater holding power. |
Straight (FN) Finish Nailer | 16-gauge | Straight | Cabinetry, furniture assembly, small trims | This tool is great for delicate work. It provides a strong hold without being bulky. |
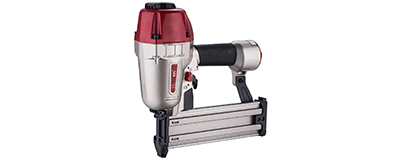
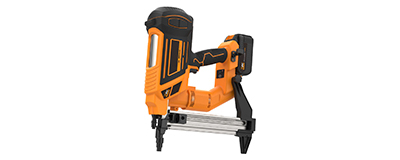
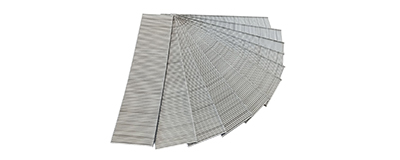
Brad Nailers: For Delicate Finishing
When your project requires a nearly invisible touch, you should reach for a brad nailer. This tool is the champion of delicate finishing work. A brad nailer shoots 18-gauge brads, which are essentially thin wires with a small head. They are perfect for attaching thin trim, decorative molding, and paneling.
Note: Because brads are so thin, they have minimal holding power. You should often use them with wood glue to create a permanent bond. The brad nailer holds the piece in place while the glue dries.
An 18-gauge brad nailer can securely fasten materials using a brad up to 2-1/8 inches long. This maximum fastener size shows the greatest material thickness the brad nailer can handle effectively. Using the correct nail gun fasteners is essential for any project. The brad nailer is a versatile nail gun for many small-scale jobs around the house.
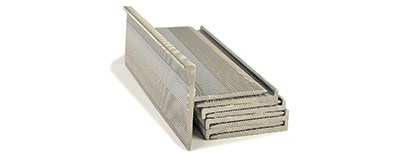
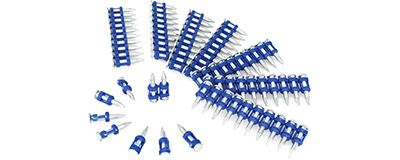
Pin Nailers: For a Nearly Invisible Hold
You reach a point in some projects where even a brad nail leaves too big of a mark. For these ultra-delicate tasks, you need a pin nailer. This tool is the master of subtlety among all types of nail guns. It fires 23-gauge pins, which are essentially tiny, headless wires. The result is a fastener hole so small it is nearly invisible to the naked eye.
A pin nailer is the ideal tool for specific woodworking jobs. You can use this nail gun when the finish is more important than holding power.
It is excellent for attaching thin, finished trim where you want an almost invisible hole.
It prevents splitting, even when you use it on the most delicate wood stock.
It acts as a tiny clamp to hold workpieces together while wood glue dries.
Important Note: A 23-gauge pin has almost no structural holding power. You must use it with glue for a permanent bond. The pin simply holds the material in place until the adhesive cures.
This specialized nail gun can handle a surprising variety of material thicknesses. The pins come in many different lengths. You can choose the right size for your specific application. Common lengths for these nail gun fasteners include:
1/2"
3/4"
1"
1-3/8"
1-3/4"
2"
Always check your pin nailer's manual to see the exact range of pin lengths it supports. Using the correct pin size with this nail gun ensures your delicate pieces are held securely without damage. This nail gun provides a flawless finish that often requires no wood filler at all.
How to Use a Nail Gun: Choosing Fasteners for Common Projects

Knowing how to use a nail gun involves more than just pulling the trigger. You must select the right fastener for each job. This guide breaks down the best nail sizes for common woodworking and home diy projects.
Sizes for Framing and Structural Work
You need strong nails for framing and structural jobs. Building codes often dictate the nail size for these tasks. For example, the International Residential Code (IRC) usually requires 16d (3 1/2-inch) nails for joining 2x4 lumber. Your framing nail gun is the right tool for this work.
For attaching sheathing or subfloors, you will use shorter nails.
Plywood or ZIP Sheathing: Use 8d (2.5-inch) nails for standard applications.
Roof Sheathing: An 8d nail is also common for this task.
Heavy-Duty Needs: You can use 10d nails for extra holding power in any sheathing.
Important: Always check your local building codes. An inspector can provide specific requirements for your area. Learning how to use a nail gun safely means following these rules.
Sizes for Trim, Molding, and Finishing
Finishing work requires a delicate touch. You want a nail that holds well but leaves a small hole. A finish nailer or brad nailer is perfect for these jobs. For most baseboards, you should use a 2.5-inch nail with your nail gun. A 15-gauge or 16-gauge nail provides excellent strength. If you use a brad nailer, a 2-inch, 18-gauge brad is a good choice. For crown molding, a 2-inch finish nail works well for most situations. You may need a 2.5-inch nail for thicker molding.
Sizes for Cabinetry and Furniture
You should use finishing nails for building furniture. They have small heads that are easy to hide. This gives your project a clean, professional look. The nail size depends on the wood's thickness. A good rule is to convert the top board's thickness to eighths of an inch. The top number tells you the "d" or penny size you need.
Use 3d (1-1/4") nails for toenailing and attaching drawer runners.
Use 4d (1-1/2") nails for joining rabbeted casework.
Use 6d (2") nails when nailing through 3/4" material.
A brad nailer is also a great tool for furniture assembly. Understanding how to use a nail gun for these finer details will improve your results. The right nail gun fasteners from your nail gun make all the difference.
Beyond Nails: Other Fasteners for Your Nail Gun
Your pneumatic tool collection might include more than just a nail gun. Many tools that look and feel like a nail gun shoot different kinds of fasteners. Understanding these alternatives helps you tackle a wider range of projects. Staples and other specialty fasteners offer unique benefits for specific jobs.
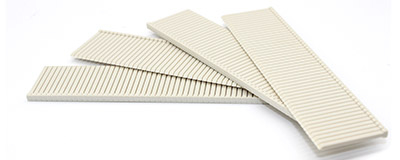
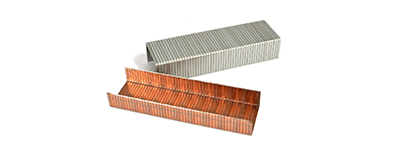
Understanding Staples: Fine, Medium, and Heavy Wire
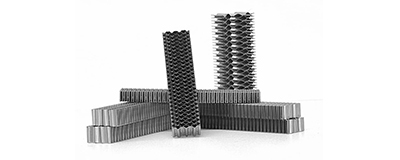
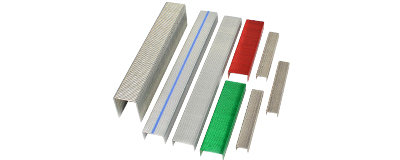
Pneumatic staplers are powerful tools that drive industrial staples with incredible speed. You will find staples categorized by the thickness of their wire. Each type has a specific purpose.
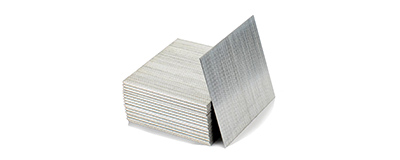
Fine Wire Staples: These are thin staples used for jobs where you want a hidden fastener. You use them for upholstery, fabric applications, and attaching thin wood veneers.
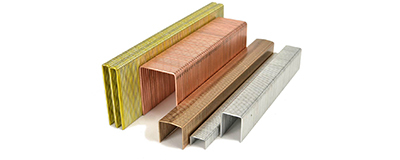
Medium Wire Staples: You get more holding power with medium wire staples. They are great for cabinet backs, drawer assembly, and subflooring.
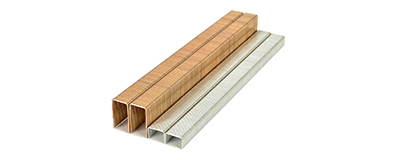
Heavy Wire Staples: These are the strongest staples. You use them for structural work like framing, sheathing, and fence building.
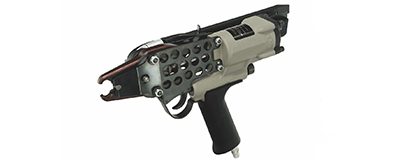
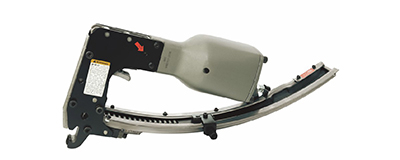
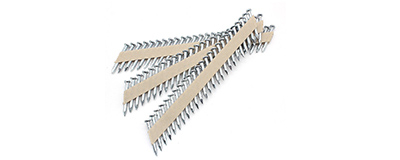
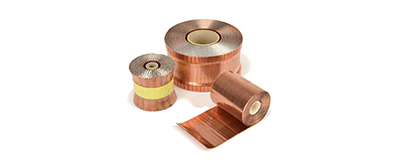
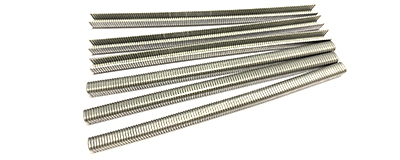
Specialty Fasteners: Cleats and Hog Rings
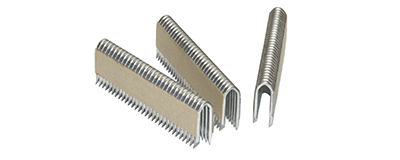
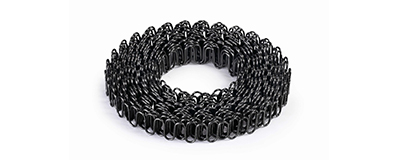
Some jobs require very specific fasteners that a standard nail gun cannot handle. Flooring cleats, for example, are used with a flooring nailer to install hardwood planks securely. Another important specialty fastener is the hog ring.
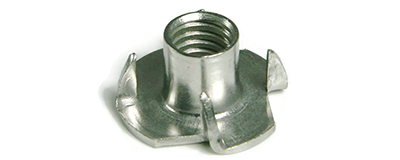
Hog rings are C-shaped metal fasteners. You use a special tool called a hog ring gun to clamp them shut. This creates a strong, circular connection. This tool is different from your nail gun.
Hog rings are essential in many industries. Their ability to join materials quickly makes them very useful. You can find them in many applications.
Upholstery: They attach fabric and seat covers to furniture and car seat frames.
Fencing: You can use them to attach chain-link or wire mesh to fence posts.
Agriculture: They are perfect for building and repairing animal cages and chicken coops.
Packaging: You can use them to close large, heavy-duty bags for shipping.
Knowing about these fasteners expands what you can accomplish. Your primary nail gun is for construction, but these other tools handle specialized assembly tasks.
Material and Coating: Does It Affect Fastener Choice?
The size of your nail is only half the story. You must also consider the nail's material and coating. This choice is crucial for the durability and appearance of your project. The right material prevents rust, corrosion, and weakness over time, ensuring your work lasts for years.
Interior vs. Exterior Applications
You should first think about where your project will live. Will it be inside or outside?
Interior Projects: Projects inside your home are safe from rain and humidity. You can often use standard, uncoated nails (sometimes called "bright" finish nails) for jobs like indoor trim or furniture.
Exterior Projects: Projects outside face weather challenges. Rain, snow, and moisture will cause the wrong type of nail to rust. This rust can stain your wood and weaken the joint. You must use corrosion-resistant fasteners for any outdoor work like decks, fences, or siding.
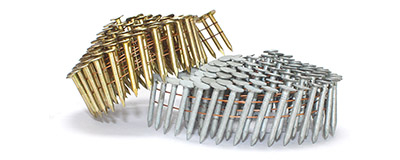
Galvanized, Stainless Steel, and Coated Nails
For outdoor projects, you need nails with special protection. Galvanized and stainless steel are your two best options. Each offers different levels of defense against rust.
Hot-Dip Galvanized Nails: These nails are dipped in molten zinc. The zinc creates a protective coating that sacrifices itself to protect the steel from moisture. They are a cost-effective choice for many general outdoor applications.
Stainless Steel Nails: These nails contain chromium, which naturally prevents rust. They offer superior, long-lasting protection and are the highest quality choice. While they have a higher initial price, they provide the best insurance against corrosion.
Pro Tip: If you are working in a coastal area with salty air, you should use 316-grade stainless steel nails. This grade offers the best corrosion resistance in harsh, saltwater environments compared to the more common 304-grade.
Choosing the correct material ensures your project not only holds together but also looks great for years to come, free from ugly rust streaks.
A Nail Gun for Beginners: Avoiding Common Sizing Mistakes
Using a nail gun for beginners can be exciting, but choosing the wrong fastener size can lead to frustrating mistakes. You can avoid common problems by understanding what happens when your nail is too short, too long, or the wrong gauge. This knowledge will help you build strong, beautiful projects every time.
What Happens When a Nail Is Too Short?
A nail that is too short creates a weak joint. It does not penetrate deep enough into the base material to get a secure grip. Over time, this weak connection can fail. Your trim might pull away from the wall, or a piece of furniture could become wobbly. The "3x rule" exists for a reason. Following it ensures your work has the holding power it needs to last.
Dangers of Using a Nail That Is Too Long
Using a nail that is too long is not just ugly; it is dangerous. A long nail can completely pass through your workpiece. This creates a sharp point on the other side. It can also lead to serious safety hazards when you use your nail gun.
A nail might hit a knot, change direction, and blow out the side of the material.
You risk injury to the hand holding the lumber if the nail breaks through unexpectedly.
Always measure your materials carefully. You want the nail to be long enough for a strong hold but short enough to remain safely inside the wood.
Why the Wrong Gauge Can Ruin Your Project
The nail's gauge, or thickness, is just as important as its length. Using the wrong gauge can ruin your project in two ways. If you choose a nail that is too thick (a low gauge number), you risk splitting the wood. A thick nail pushes the wood fibers apart, causing cracks, especially near the edge of a board.
On the other hand, a nail that is too thin (a high gauge number) may not have enough holding power. While it leaves a small hole, it might not be strong enough to support heavy materials like baseboards or door casings. You must balance strength with finish. Choosing the right gauge for your nail gun ensures your material stays intact while providing the necessary support.
You now have the knowledge to choose the right nail gun fasteners for any project. Mastering your nail gun starts with these key principles:
Follow the "3x rule." Your nail should be three times the length of the material you are securing.
Remember the gauge principle. Lower numbers mean thicker nails for structure. Higher numbers mean thinner nails for a clean finish.
Check your manual. Before buying fasteners, confirm your nail gun supports the correct gauge and length for different types of nail guns.
FAQ
What is the most important rule for nail length?
You should follow the "3x rule" for nail length. Your nail needs to be three times the length of the top material you are fastening. This simple rule ensures your project has excellent holding power and a strong, secure connection.
Can I use any nail in my nail gun?
No, you must use the correct fasteners for your tool. Always check your nail gun's manual. It will tell you the specific gauge, length range, and collation type (the way nails are held together) that your nail gun requires to operate safely.
Why did my wood split when I used my nail gun?
You likely used a nail with the wrong gauge. A nail that is too thick for the wood (a low gauge number) can easily cause it to split. You should choose a thinner nail (a higher gauge number) for delicate materials.
What nail should I use for outdoor projects?
You must use corrosion-resistant nails for any outdoor project. Choose hot-dip galvanized or stainless steel nails. These special coatings protect the nail from moisture and prevent ugly rust stains from forming on your wood, ensuring your work lasts for years.